Használati útmutató Luxul P40
Olvassa el alább 📖 a magyar nyelvű használati útmutatót Luxul P40 (8 oldal) a hozzáférési pont kategóriában. Ezt az útmutatót 28 ember találta hasznosnak és 14.5 felhasználó értékelte átlagosan 4.4 csillagra
Oldal 1/8
Fold Fold Fold
READ ME FIRST
QUICK INSTALL GUIDE
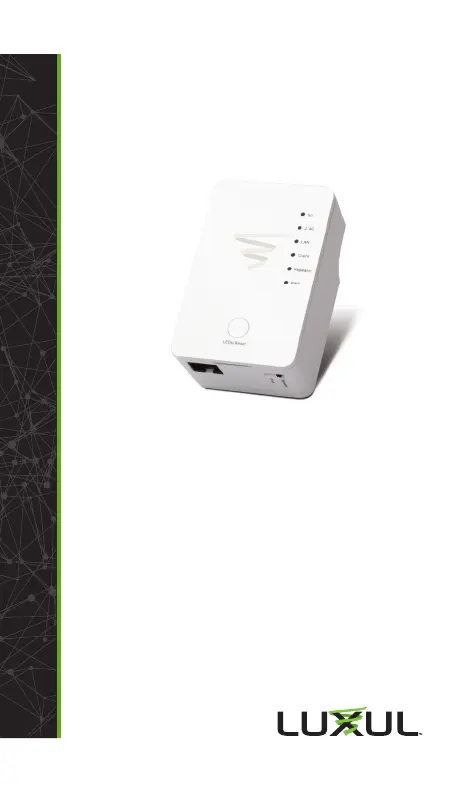
AC1200 WiFi Bridge +
Range Extender
P40
Includes:
P40 Wireless Range Extender
INSTALLATION AND SETUP
1
Introduction and Safety Information
The compact design, allows you to install the P40 everywhere
and still provide excellent network performance to extend
the Wi-Fi signal and wireless coverage. This P40 is designed for
indoor use only. DO NOT expose this device to direct sunlight,
rain, or snow.
c Caution:
DO NOT put the P40 in or near hot or humid
places, like the kitchen or bathroom. Also, do
not leave the P40 in the car during the summer.
The P40 will become hot when being used for a long time (this
is normal and is not a malfunction). DO NOT put the P40 on
paper, cloth, or other fl ammable objects.
Difference between client/repeater mode:
In Client Mode, your P40 will act as a client, connecting
wirelessly to your existing wireless network. You can then
connect physically through the Ethernet port on the bottom
of the P40 to whatever device you want to provide internet
connectivity to.
In Repeater Mode, your P40 will act as an access point, rebroad-
casting your wireless signal from the next closest AP.
2
Access and Setup for Repeater Mode
The switch on the bottom of the P40 should be on “Repeater.”
The P40 setup can be initiated two ways; choose the one below
that works best for you:
Option 1. Open an Internet Browser. Using your OS settings,
connect to a wireless network called “repeater.setup” (no
password required).
Option 2. Open an Internet Browser. Connect an Ethernet cable
from your device to the Ethernet port on the P40.
After performing either Option 1 or 2, a login window will open
in your Internet Browser to start the setup of the P40. The
default username and password are both “admin.”
Default IP: 192.168.1.1
Username: admin
Password: admin
After logging in, click “Continue” to start the setup wizard or
you can click “Skip Wizard” to see the main menu.
After clicking “Continue,” the P40 will scan for and display a
list of the wireless networks (SSIDs) it can see. Select yours,
then click “Continue.” If you don’t see your network, you can
click “Refresh” to refresh the list.
You will be prompted to enter a password for that wireless
network (SSID). Enter the exact same password you use for
that existing wireless network (SSID). It is case sensitive. Click
“Continue.”
When setting the P40 up in Repeater Mode, you will be asked if
you would like to extend a second network on another frequency.
This is so you can extend both 2.4GHz and 5GHz networks for
better coverage. This page will not show up if you are using the
P40 as a bridge client. Select “Yes” or “No” and follow the steps
past the password again.
You will be asked if you want to use the same wireless name
(SSID) as the one you’re extending or if you want to customize
the wireless name (SSID) you want the P40 to broadcast. Make
your selection and then click “Continue.”
n Note:
Changing the network name (SSID) does not a ect
how the P40 connects to your current wireless
network, and you will not see this page when
setting up the P40 in Client Mode.
LUX-QIG-P40-v4 06251804
Copyright and Trademark Notices
No part of this document may be modifi ed or adapted in any way, for any pur-
poses without permission in writing from Luxul. The material in this document
is subject to change without notice. Luxul reserves the right to make changes
to any product to improve reliability, function, or design. No license is granted,
either expressly or by implication or otherwise under any Luxul intellectual
property rights. An implied license only exists for equipment, circuits and
subsystems contained in this or any Luxul product.
© Copyright 2018 Luxul. All rights reserved. The name Luxul, the Luxul logo, the
Luxul logo mark and Simply Connected are all trademarks and or registered
trademarks of Luxul Wireless, Inc. All other trademarks and registered
trademarks are property of their respective holders.
Sales
P: 801-822-5450
E: sales@luxul.com
Technical Support
P: 801-822-5450
E: support@luxul.com
Termékspecifikációk
| Márka: | Luxul |
| Kategória: | hozzáférési pont |
| Modell: | P40 |
Szüksége van segítségre?
Ha segítségre van szüksége Luxul P40, tegyen fel kérdést alább, és más felhasználók válaszolnak Önnek
Útmutatók hozzáférési pont Luxul

14 Január 2025

14 Január 2025

3 Szeptember 2024

3 Szeptember 2024

3 Szeptember 2024

3 Szeptember 2024

3 Szeptember 2024

3 Szeptember 2024

3 Szeptember 2024

3 Szeptember 2024
Útmutatók hozzáférési pont
- hozzáférési pont Macally
- hozzáférési pont Hawking Technologies
- hozzáférési pont Fortinet
- hozzáférési pont Insteon
- hozzáférési pont Ruckus Wireless
- hozzáférési pont Allnet
- hozzáférési pont Totolink
- hozzáférési pont Digitus
- hozzáférési pont Amped Wireless
- hozzáférési pont LevelOne
- hozzáférési pont Peplink
- hozzáférési pont EQ3
- hozzáférési pont Kingston
- hozzáférési pont Ubiquiti Networks
- hozzáférési pont Lancom
Legújabb útmutatók hozzáférési pont

9 Április 2025

9 Április 2025

6 Április 2025

20 Március 2025

16 Március 2025

15 Január 2025

14 Január 2025

13 Január 2025

31 December 2025

31 December 2025