Használati útmutató Element MLP1WW
Element
Szárítógép
MLP1WW
Olvassa el alább 📖 a magyar nyelvű használati útmutatót Element MLP1WW (4 oldal) a Szárítógép kategóriában. Ezt az útmutatót 20 ember találta hasznosnak és 10.5 felhasználó értékelte átlagosan 3.5 csillagra
Oldal 1/4
Installation
Instructions
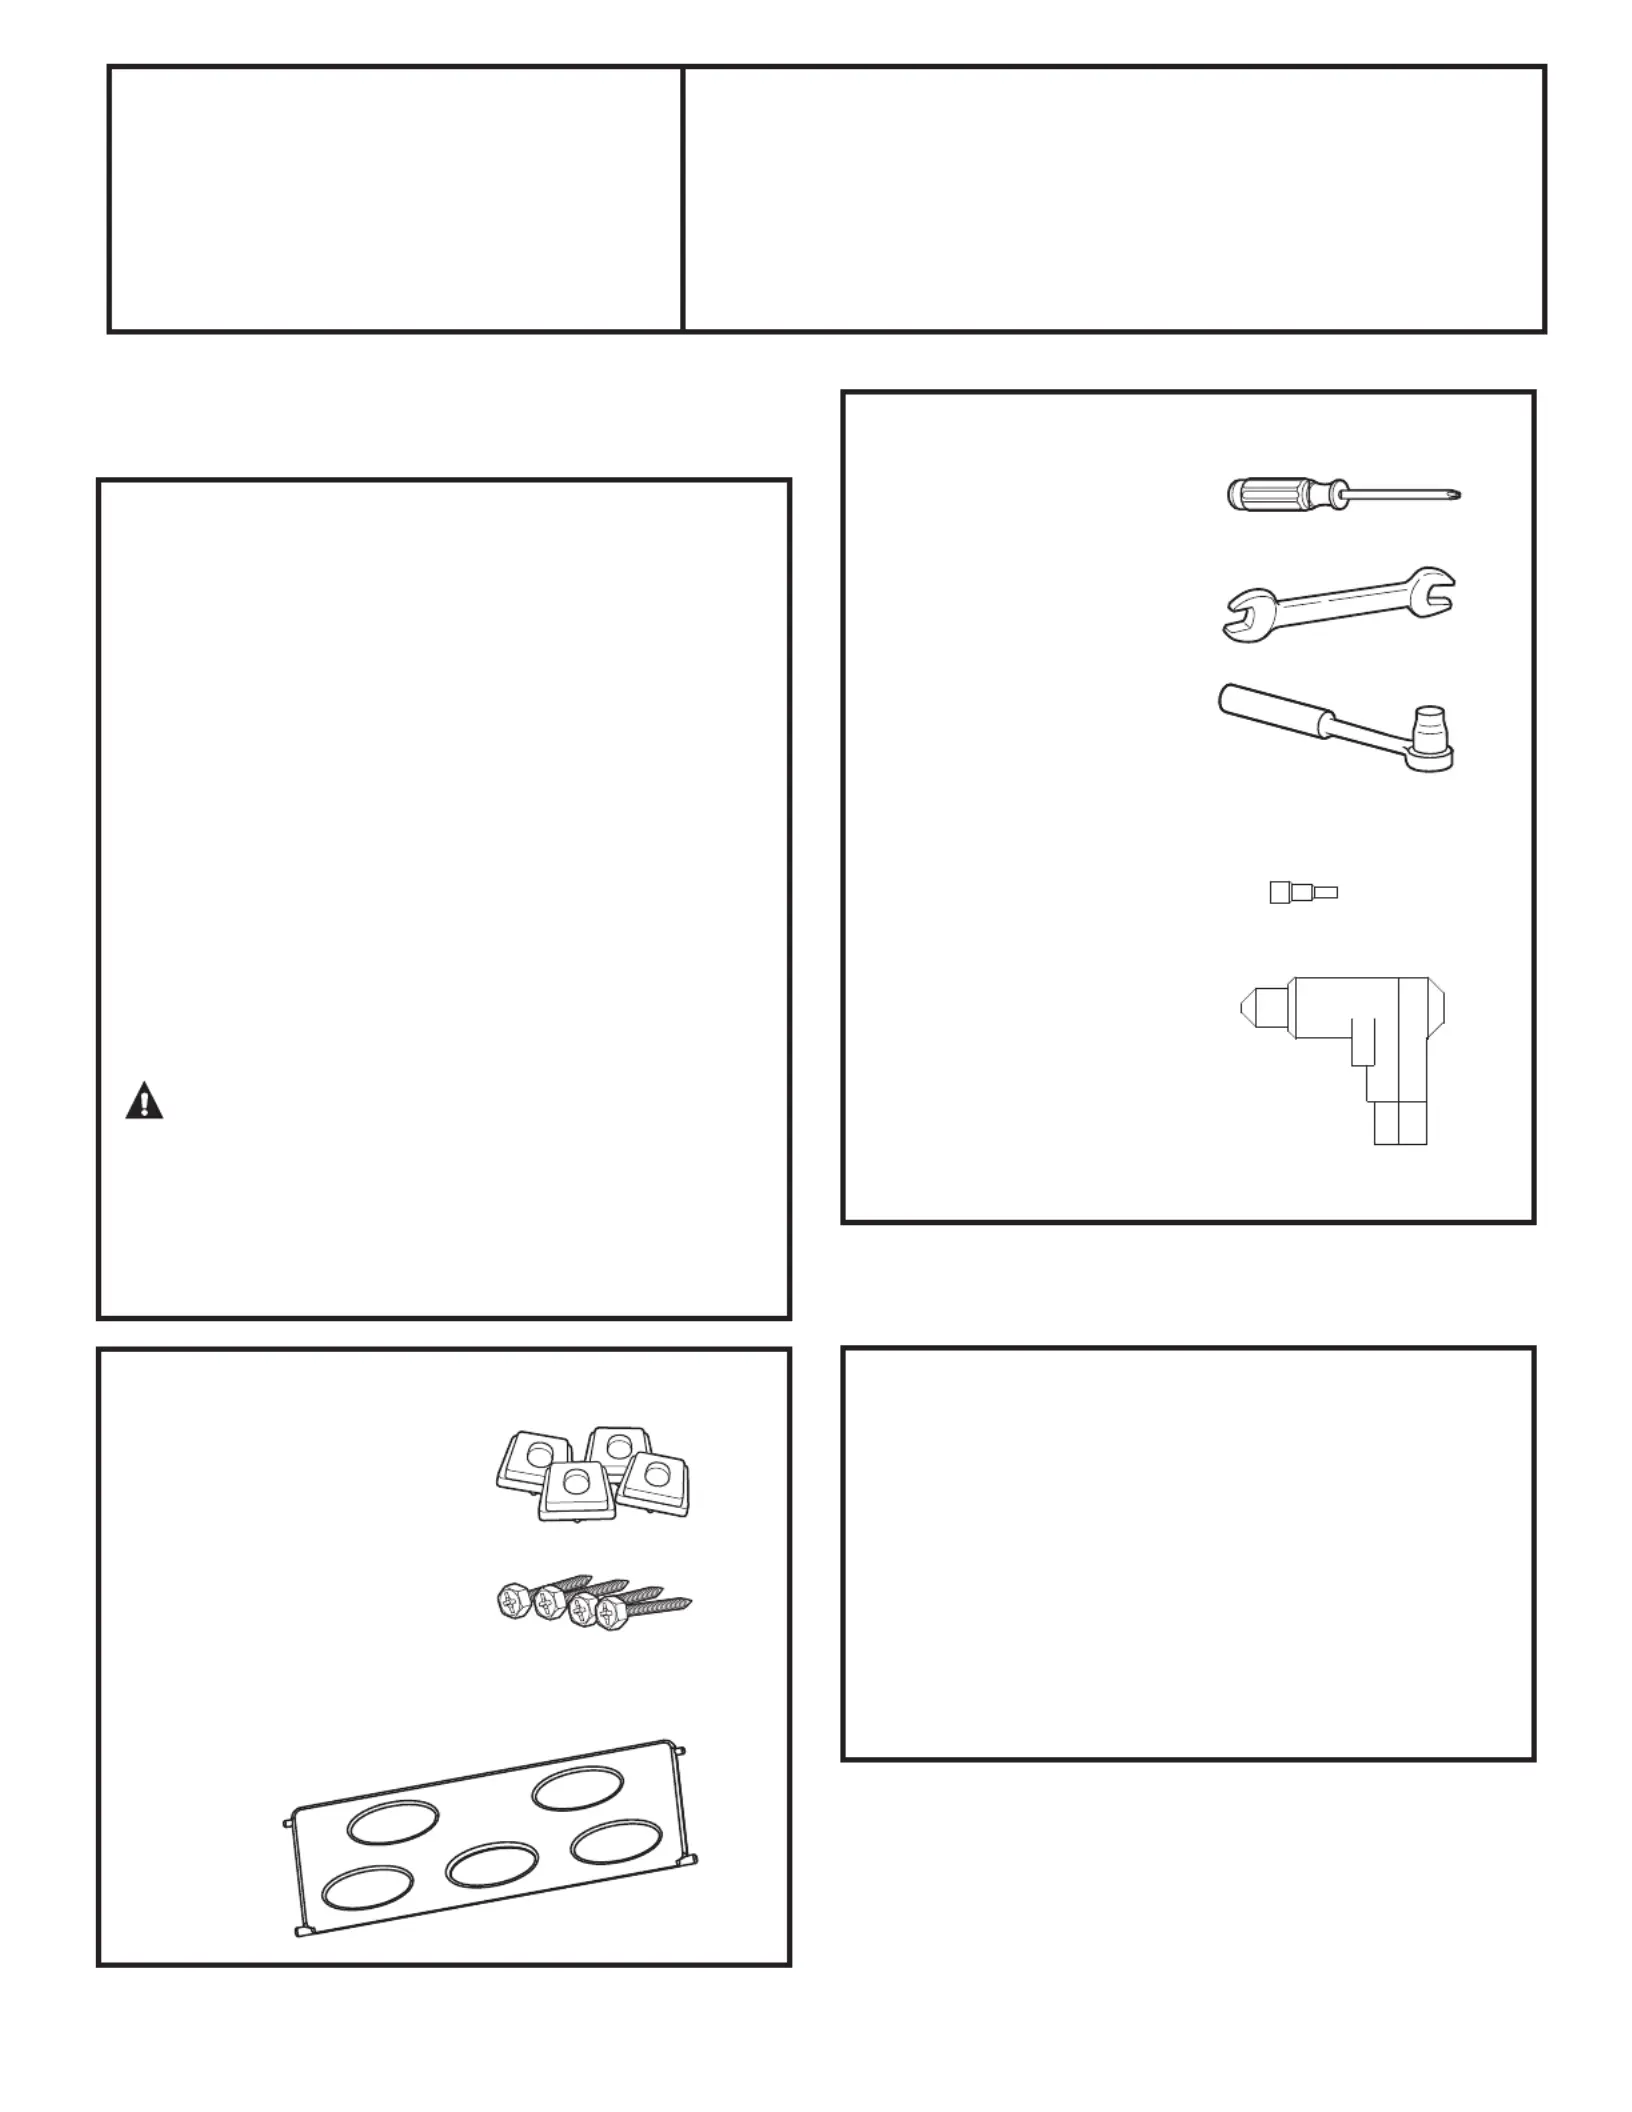
KIT CONTENTS
4 Support Pads
4 Mounting Screws
Pedestal Organizer
1
TOOLS YOU WILL NEED
Phillips Head
Screwdriver
17mm Open End Wrench
or Adjustable Wrench
8mm Socket Wrench
INSTALLATION PREPARATION
Remove the packaging.
The pedestal organizer is taped at the top of the
shipping carton. Remove the organizer and set
aside for final installation.
Flatten the product carton to use as a pad
to lay the washer or dryer down on its side.
Continue using the carton to protect the finished
floor
in front of the installation location.
Pedestal
MLP1WW
BEFORE YOU BEGIN
Read these
instructions completely
and carefully.
•
IMPORTANT
—
Save these instructions
for local inspector’s use.
•
IMPORTANT
—
Observe all governing
codes and ordinances.
•Note to Consumer – Keep these instructions
with your Owner’s Manual for future reference.
•Completion time – 1 to 2 hours
•Proper installation is the responsibility
of the installer.
•Product failure due to improper installation is not
covered under the Warranty.
CAUTION — Due to the size and weight
of these products, and to reduce the risk of
personal injury or damage to the product, TWO
PEOPLE ARE REQUIRED FOR PROPER INSTALLATION.
•See washer and dryer installation instructions for
additional installation requirements and guidelines.
OR
8mm Socket
Electric Screwdriver
NOTE Use Electric screwdriver matching with 8mm Socket: .
Termékspecifikációk
| Márka: | Element |
| Kategória: | Szárítógép |
| Modell: | MLP1WW |
Szüksége van segítségre?
Ha segítségre van szüksége Element MLP1WW, tegyen fel kérdést alább, és más felhasználók válaszolnak Önnek
Útmutatók Szárítógép Element

1 Szeptember 2024

30 Augusztus 2024

30 Augusztus 2024

26 Augusztus 2024

26 Augusztus 2024

20 Augusztus 2024

20 Augusztus 2024

14 Augusztus 2024

9 Augusztus 2024

29 Július 2024
Útmutatók Szárítógép
- Szárítógép Altus
- Szárítógép Yamazen
- Szárítógép Panasonic
- Szárítógép Remington
- Szárítógép Eurotech
- Szárítógép Otsein-Hoover
- Szárítógép Smart Brand
- Szárítógép Russell Hobbs
- Szárítógép Taurus
- Szárítógép WLA
- Szárítógép Hotpoint
- Szárítógép Crosley
- Szárítógép Ufesa
- Szárítógép Euro Appliances
- Szárítógép Fagor
Legújabb útmutatók Szárítógép

10 Április 2025

10 Április 2025

10 Április 2025

9 Április 2025

9 Április 2025

9 Április 2025

9 Április 2025

7 Április 2025

7 Április 2025

7 Április 2025