Használati útmutató Oce OP1018 Advanced Operation Guide
Oce
Minden egyben
OP1018 Advanced Operation Guide
Olvassa el alább 📖 a magyar nyelvű használati útmutatót Oce OP1018 Advanced Operation Guide (148 oldal) a Minden egyben kategóriában. Ezt az útmutatót 7 ember találta hasznosnak és 2 felhasználó értékelte átlagosan 4.5 csillagra
Oldal 1/148
1.1.1.
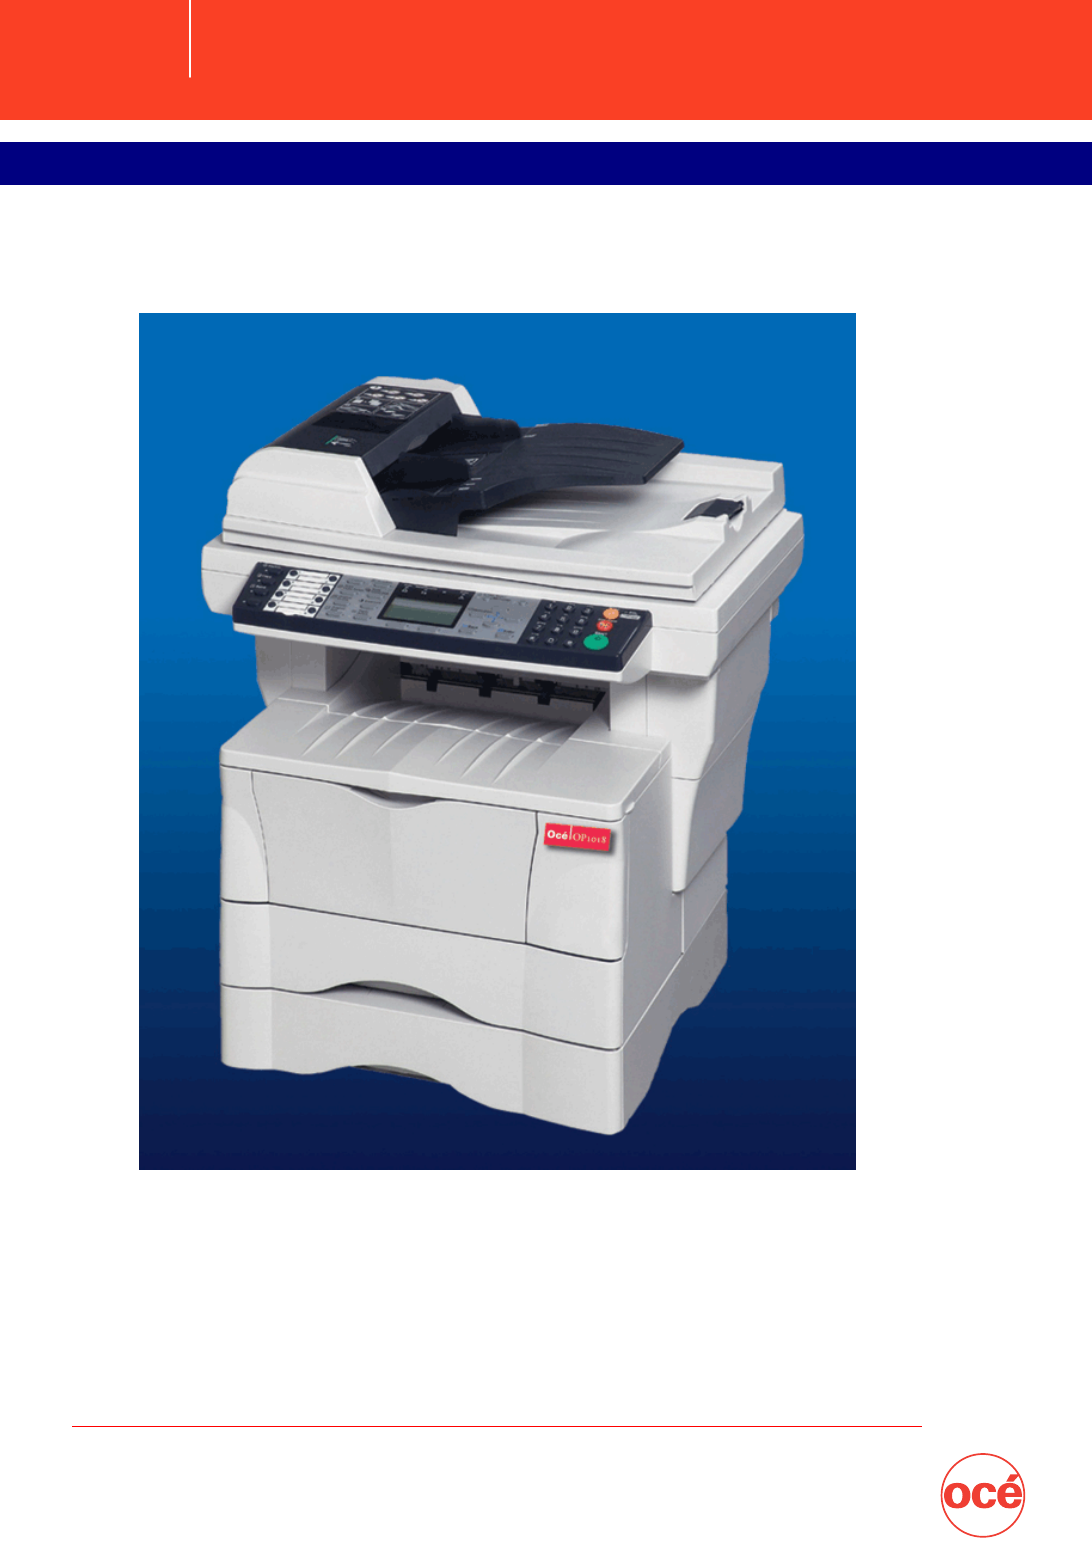
Océ OP1018
Printing System
Advanced Operations Guide
Education Services
Océ
Operations Guide
English version
The KM-1820 model is applicable to USA, Canada, and the Asia
Pacific region.
The FS-1118MFP model is applicable to Europe and Australasia.

ADVANCED OPERATION GUIDE iii
Contents
Introduction
Guides included . . . . . . . . . . . . . . . . . . . . . . . . . . . . . . . . . . . . . . . . . . . . . . . . . . . . . . . . . . . . . . . v
Conventions . . . . . . . . . . . . . . . . . . . . . . . . . . . . . . . . . . . . . . . . . . . . . . . . . . . . . . . . . . . . . . . . . .vi
Accessing Menu Items . . . . . . . . . . . . . . . . . . . . . . . . . . . . . . . . . . . . . . . . . . . . . . . . . . . . . . . . . vii
1 Copying Functions
Selecting the Paper Source . . . . . . . . . . . . . . . . . . . . . . . . . . . . . . . . . . . . . . . . . . . . . . . . . . . . 1-1
Selecting the Original Size for Copying. . . . . . . . . . . . . . . . . . . . . . . . . . . . . . . . . . . . . . . . . . . . 1-1
Selecting Original Quality Mode . . . . . . . . . . . . . . . . . . . . . . . . . . . . . . . . . . . . . . . . . . . . . . . . . 1-2
Adjusting Copy Exposure . . . . . . . . . . . . . . . . . . . . . . . . . . . . . . . . . . . . . . . . . . . . . . . . . . . . . . 1-2
Selecting the Number of Copies . . . . . . . . . . . . . . . . . . . . . . . . . . . . . . . . . . . . . . . . . . . . . . . . . 1-3
Zoom Copying. . . . . . . . . . . . . . . . . . . . . . . . . . . . . . . . . . . . . . . . . . . . . . . . . . . . . . . . . . . . . . . 1-3
Selecting Original Placement . . . . . . . . . . . . . . . . . . . . . . . . . . . . . . . . . . . . . . . . . . . . . . . . . . . 1-4
Using Collate Mode. . . . . . . . . . . . . . . . . . . . . . . . . . . . . . . . . . . . . . . . . . . . . . . . . . . . . . . . . . . 1-5
Using Combine Mode . . . . . . . . . . . . . . . . . . . . . . . . . . . . . . . . . . . . . . . . . . . . . . . . . . . . . . . . . 1-5
Continuous Copying . . . . . . . . . . . . . . . . . . . . . . . . . . . . . . . . . . . . . . . . . . . . . . . . . . . . . . . . . . 1-9
EcoPrint Mode. . . . . . . . . . . . . . . . . . . . . . . . . . . . . . . . . . . . . . . . . . . . . . . . . . . . . . . . . . . . . . 1-10
Print Override Mode . . . . . . . . . . . . . . . . . . . . . . . . . . . . . . . . . . . . . . . . . . . . . . . . . . . . . . . . . 1-11
File Name Entry . . . . . . . . . . . . . . . . . . . . . . . . . . . . . . . . . . . . . . . . . . . . . . . . . . . . . . . . . . . . 1-11
Sending the Job End Report . . . . . . . . . . . . . . . . . . . . . . . . . . . . . . . . . . . . . . . . . . . . . . . . . . . 1-13
2 Scanning Functions
Using the Scanning Function . . . . . . . . . . . . . . . . . . . . . . . . . . . . . . . . . . . . . . . . . . . . . . . . . . . 2-1
Scanning Documents . . . . . . . . . . . . . . . . . . . . . . . . . . . . . . . . . . . . . . . . . . . . . . . . . . . . . . . . . 2-2
Using the Address Book . . . . . . . . . . . . . . . . . . . . . . . . . . . . . . . . . . . . . . . . . . . . . . . . . . . . . . . 2-4
Selecting Color Scan Mode. . . . . . . . . . . . . . . . . . . . . . . . . . . . . . . . . . . . . . . . . . . . . . . . . . . . . 2-5
Selecting the Original Quality for Scanning. . . . . . . . . . . . . . . . . . . . . . . . . . . . . . . . . . . . . . . . . 2-5
Selecting the Scanning Resolution . . . . . . . . . . . . . . . . . . . . . . . . . . . . . . . . . . . . . . . . . . . . . . . 2-6
Adjusting the Exposure for Scanning . . . . . . . . . . . . . . . . . . . . . . . . . . . . . . . . . . . . . . . . . . . . . 2-6
Selecting the Original Size for Scanning. . . . . . . . . . . . . . . . . . . . . . . . . . . . . . . . . . . . . . . . . . . 2-7
Selecting the Send Size . . . . . . . . . . . . . . . . . . . . . . . . . . . . . . . . . . . . . . . . . . . . . . . . . . . . . . . 2-7
Zoom Scanning . . . . . . . . . . . . . . . . . . . . . . . . . . . . . . . . . . . . . . . . . . . . . . . . . . . . . . . . . . . . . . 2-8
Selecting the Original Placement for Scanning. . . . . . . . . . . . . . . . . . . . . . . . . . . . . . . . . . . . . . 2-8
Continuous Scanning . . . . . . . . . . . . . . . . . . . . . . . . . . . . . . . . . . . . . . . . . . . . . . . . . . . . . . . . . 2-9
Selecting the Image File Format . . . . . . . . . . . . . . . . . . . . . . . . . . . . . . . . . . . . . . . . . . . . . . . . 2-10
Entering the Name of send job . . . . . . . . . . . . . . . . . . . . . . . . . . . . . . . . . . . . . . . . . . . . . . . . . 2-10
Entering the Subject and Body Message of the E-Mail. . . . . . . . . . . . . . . . . . . . . . . . . . . . . . . 2-11
Reporting the End of Scanning . . . . . . . . . . . . . . . . . . . . . . . . . . . . . . . . . . . . . . . . . . . . . . . . . 2-12
Scanning with TWAIN . . . . . . . . . . . . . . . . . . . . . . . . . . . . . . . . . . . . . . . . . . . . . . . . . . . . . . . . 2-13
3 Printer Settings
Parallel Setting . . . . . . . . . . . . . . . . . . . . . . . . . . . . . . . . . . . . . . . . . . . . . . . . . . . . . . . . . . . . . . 3-1
Network Settings . . . . . . . . . . . . . . . . . . . . . . . . . . . . . . . . . . . . . . . . . . . . . . . . . . . . . . . . . . . . . 3-2
Setting the Emulation Mode . . . . . . . . . . . . . . . . . . . . . . . . . . . . . . . . . . . . . . . . . . . . . . . . . . . . 3-6
4 Operation Status
Status Screen . . . . . . . . . . . . . . . . . . . . . . . . . . . . . . . . . . . . . . . . . . . . . . . . . . . . . . . . . . . . . . . 4-1
Checking Jobs Status . . . . . . . . . . . . . . . . . . . . . . . . . . . . . . . . . . . . . . . . . . . . . . . . . . . . . . . . . 4-2
Verifying Job Log. . . . . . . . . . . . . . . . . . . . . . . . . . . . . . . . . . . . . . . . . . . . . . . . . . . . . . . . . . . . . 4-2
Pausing Jobs. . . . . . . . . . . . . . . . . . . . . . . . . . . . . . . . . . . . . . . . . . . . . . . . . . . . . . . . . . . . . . . . 4-2

ADVANCED OPERATION GUIDE iv
Canceling Jobs . . . . . . . . . . . . . . . . . . . . . . . . . . . . . . . . . . . . . . . . . . . . . . . . . . . . . . . . . . . . . . 4-3
Verifying Scanner Status . . . . . . . . . . . . . . . . . . . . . . . . . . . . . . . . . . . . . . . . . . . . . . . . . . . . . . . 4-4
Verifying Printer Status . . . . . . . . . . . . . . . . . . . . . . . . . . . . . . . . . . . . . . . . . . . . . . . . . . . . . . . . 4-4
Verifying the Toner Status . . . . . . . . . . . . . . . . . . . . . . . . . . . . . . . . . . . . . . . . . . . . . . . . . . . . . . 4-4
Verifying Settings for the Cassettes and MP Tray. . . . . . . . . . . . . . . . . . . . . . . . . . . . . . . . . . . . 4-5
Printing Reports . . . . . . . . . . . . . . . . . . . . . . . . . . . . . . . . . . . . . . . . . . . . . . . . . . . . . . . . . . . . . 4-5
Verifying Total Number of Prints and Scans . . . . . . . . . . . . . . . . . . . . . . . . . . . . . . . . . . . . . . . . 4-6
5 System Settings
Display Settings . . . . . . . . . . . . . . . . . . . . . . . . . . . . . . . . . . . . . . . . . . . . . . . . . . . . . . . . . . . . . 5-1
Print Quality Settings. . . . . . . . . . . . . . . . . . . . . . . . . . . . . . . . . . . . . . . . . . . . . . . . . . . . . . . . . . 5-3
Machine Settings. . . . . . . . . . . . . . . . . . . . . . . . . . . . . . . . . . . . . . . . . . . . . . . . . . . . . . . . . . . . . 5-5
Timer Settings . . . . . . . . . . . . . . . . . . . . . . . . . . . . . . . . . . . . . . . . . . . . . . . . . . . . . . . . . . . . . . 5-11
Size Settings . . . . . . . . . . . . . . . . . . . . . . . . . . . . . . . . . . . . . . . . . . . . . . . . . . . . . . . . . . . . . . . 5-16
Editing the Address Book . . . . . . . . . . . . . . . . . . . . . . . . . . . . . . . . . . . . . . . . . . . . . . . . . . . . . 5-21
Printing the Service Pages . . . . . . . . . . . . . . . . . . . . . . . . . . . . . . . . . . . . . . . . . . . . . . . . . . . . 5-24
6 User Login Management
Entering User Login . . . . . . . . . . . . . . . . . . . . . . . . . . . . . . . . . . . . . . . . . . . . . . . . . . . . . . . . . . 6-1
ID management. . . . . . . . . . . . . . . . . . . . . . . . . . . . . . . . . . . . . . . . . . . . . . . . . . . . . . . . . . . . . . 6-1
7 Job Accounting
Managing Accounts. . . . . . . . . . . . . . . . . . . . . . . . . . . . . . . . . . . . . . . . . . . . . . . . . . . . . . . . . . . 7-2
Setting Limitation of Use . . . . . . . . . . . . . . . . . . . . . . . . . . . . . . . . . . . . . . . . . . . . . . . . . . . . . . . 7-2
Deleting an Account . . . . . . . . . . . . . . . . . . . . . . . . . . . . . . . . . . . . . . . . . . . . . . . . . . . . . . . . . . 7-4
Changing Limitation of Use . . . . . . . . . . . . . . . . . . . . . . . . . . . . . . . . . . . . . . . . . . . . . . . . . . . . . 7-4
All Account Management . . . . . . . . . . . . . . . . . . . . . . . . . . . . . . . . . . . . . . . . . . . . . . . . . . . . . . 7-4
Individual Account Management . . . . . . . . . . . . . . . . . . . . . . . . . . . . . . . . . . . . . . . . . . . . . . . . . 7-5
Default Settings. . . . . . . . . . . . . . . . . . . . . . . . . . . . . . . . . . . . . . . . . . . . . . . . . . . . . . . . . . . . . . 7-7
Using Job Accounting . . . . . . . . . . . . . . . . . . . . . . . . . . . . . . . . . . . . . . . . . . . . . . . . . . . . . . . . . 7-8
8 Using COMMAND CENTER
System Requirements. . . . . . . . . . . . . . . . . . . . . . . . . . . . . . . . . . . . . . . . . . . . . . . . . . . . . . . . . 8-1
Accessing COMMAND CENTER . . . . . . . . . . . . . . . . . . . . . . . . . . . . . . . . . . . . . . . . . . . . . . . . 8-2
COMMAND CENTER Pages . . . . . . . . . . . . . . . . . . . . . . . . . . . . . . . . . . . . . . . . . . . . . . . . . . . 8-3
Start Page . . . . . . . . . . . . . . . . . . . . . . . . . . . . . . . . . . . . . . . . . . . . . . . . . . . . . . . . . . . . . . . . . . 8-4
Basic Page . . . . . . . . . . . . . . . . . . . . . . . . . . . . . . . . . . . . . . . . . . . . . . . . . . . . . . . . . . . . . . . . . 8-6
Printer Page . . . . . . . . . . . . . . . . . . . . . . . . . . . . . . . . . . . . . . . . . . . . . . . . . . . . . . . . . . . . . . . 8-11
Scanner Page . . . . . . . . . . . . . . . . . . . . . . . . . . . . . . . . . . . . . . . . . . . . . . . . . . . . . . . . . . . . . . 8-12
FAX Page . . . . . . . . . . . . . . . . . . . . . . . . . . . . . . . . . . . . . . . . . . . . . . . . . . . . . . . . . . . . . . . . . 8-14
Jobs Page . . . . . . . . . . . . . . . . . . . . . . . . . . . . . . . . . . . . . . . . . . . . . . . . . . . . . . . . . . . . . . . . . 8-17
Advanced Page. . . . . . . . . . . . . . . . . . . . . . . . . . . . . . . . . . . . . . . . . . . . . . . . . . . . . . . . . . . . . 8-18
9 Optional Equipment
Available Options . . . . . . . . . . . . . . . . . . . . . . . . . . . . . . . . . . . . . . . . . . . . . . . . . . . . . . . . . . . . 9-1
Document Processor. . . . . . . . . . . . . . . . . . . . . . . . . . . . . . . . . . . . . . . . . . . . . . . . . . . . . . . . . . 9-2
Paper Feeder . . . . . . . . . . . . . . . . . . . . . . . . . . . . . . . . . . . . . . . . . . . . . . . . . . . . . . . . . . . . . . . 9-4
Expansion Memory . . . . . . . . . . . . . . . . . . . . . . . . . . . . . . . . . . . . . . . . . . . . . . . . . . . . . . . . . . . 9-4
FAX System . . . . . . . . . . . . . . . . . . . . . . . . . . . . . . . . . . . . . . . . . . . . . . . . . . . . . . . . . . . . . . . . 9-5
Appendix
Paper Selection. . . . . . . . . . . . . . . . . . . . . . . . . . . . . . . . . . . . . . . . . . . . . . . . . . . . . . . .Appendix-1
Function Combination Tables . . . . . . . . . . . . . . . . . . . . . . . . . . . . . . . . . . . . . . . . . . . .Appendix-10
Glossary
Index

Introduction
ADVANCED OPERATION GUIDE vii
Accessing Menu Items
When you configure the machine, you do so by accessing a menu item and making
your setting from there. Each configuration instruction in this guide tells you to
access the menu item and provides a route map to direct you to that item. An
example of a route map and its significance is shown below.
.
System Menu/
Counter This represents the control panel button to be pressed.
S or TPress the up or down button until System Setting is displayed.
System Setting
Enter
S or TPress the up or down button until Network Setting is displayed.
Network Setting
Enter
S or TPress the up or down button until TCP/IP Setting is displayed.
TCP/IP Setting
Enter
S or TPress the up or down button until IP Address is displayed.
IP Address
Enter

Introduction
viii ADVANCED OPERATION GUIDE

ADVANCED OPERATION GUIDE 1-1
1 Copying Functions
Selecting the Paper Source
1Press Copy. The basic screen is displayed.
2Press Paper Select.
3Press S or T to select the required cassette or the MP Tray and press Enter.
For a cassette, the display shows Completed and returns to the basic screen.
For the MP tray, the MP Tray Size screen is displayed. Proceed to the next step.
4Press S or T to select the paper size required and press Enter. The MP Tray Type
screen is displayed.
If the paper size is not shown, select Others and press Enter then select from the
Others screen.
5Press S or T to select the media type required and press Enter. The display shows
Completed and returns to the basic screen.
Selecting the Original Size for Copying
1Press Copy. The basic screen is displayed.
2Press Original Size.
3Press S or T to select the size of the original or, if the size of the original is not
shown in the display select Others and press Enter.
For a standard size, the display shows Completed and returns to the basic screen.
For Others proceed to the next step.
4Press S or T to select the size of the original and press Enter. The display shows
Completed and returns to the basic screen.
Mode Description
Auto Automatically selects and feeds paper from the cassette
or the MP tray, whichever holds the paper size to be
used.
Cassette1 Feeds paper from cassette 1.
Cassette2 Feeds paper from the optional cassette 2 if it is
installed.
MP Tray Feeds paper from the MP tray if the paper size and type
has been registered.

Copying Functions
1-6 ADVANCED OPERATION GUIDE
The following illustrations indicate the effects of each direction and layout setting:
2 in 1 > Top Edge to Rear.
2 in 1 > Top Edge to Left
4 in 1 > Top Edge to Rear
Original Copied Image
Left to Right/Top to
Bottom
Right to Left
Original Copied Image
Left to Right/Top to
Bottom
Right to Left
Original Copied image
Top to
Bottom to
Right
Top to
Bottom to
Left
Right to
Left to
Bottom
Left to
Right to
Bottom

Copying Functions
ADVANCED OPERATION GUIDE 1-9
4Press Start. The original is scanned.
Once the scanning operation is completed, Set original and press Start key is
displayed.
5Place the next original on the Platen ready for scanning and press Start. The next
original is scanned.
6Repeat step 5 until all the originals have been scanned.
7When all the originals have been scanned, press right Select. Accepted will appear
and copying commences.
Continuous Copying
Use Continuous Copying to scan originals into memory in individual sections.The
machine then groups the sections together to form a single job. The copies are then
produced in one batch, as a single job.
Selecting Continuous Copying
1Press Copy. The basic screen is displayed.
2Press Function.
3Press S or T to select Continuous Scan and press Enter. The Continuous Scan
screen is displayed.
4Press S or T to select On and press Enter. The display shows Completed and
returns to the Function screen.
5Press right Select. The display returns to the basic screen.
Using Continuous Copying
The maximum number of originals to scan depends on the available memory in the
machine. Number of scannable originals (Letter, 5%, Text+Photo mode) are as
follows:
• 96 MB (standard): Approximately 70 sheets
• 128 MB: Approximately 115 sheets
• 192 MB: Approximately 380 sheets
• 320 MB: Approximately 535 sheets

ADVANCED OPERATION GUIDE 2-1
2 Scanning Functions
Using the Scanning Function
This machine can send a scanned image as an attachment to an e-mail message or
to a PC linked to the network. In order to do this, it is necessary to register the sender
and destination (recipient) address on the network.
A network environment which enables the machine to connect to a mail server is
required. It is recommended that a Local Area Network (LAN) is used to assist with
transmission speed and security issues.
To use the Scanning Function perform the following steps:
• Program the settings, including the e-mail setting on the machine.
• Use COMMAND CENTER (the internal HTML web page) to register the IP
address, the host name of the SMTP server, and the recipient.
• Register the destination in the Address Book or One Touch keys.
• When the PC Folder (SMB/FTP) is selected, it is necessary to share the
destination folder. For setting-up the PC Folder, contact your Network
Administrator.
The Sender, a default subject and body message for the e-mail will be registered
under the e-mail template setting in COMMAND CENTER.
Termékspecifikációk
| Márka: | Oce |
| Kategória: | Minden egyben |
| Modell: | OP1018 Advanced Operation Guide |
Szüksége van segítségre?
Ha segítségre van szüksége Oce OP1018 Advanced Operation Guide, tegyen fel kérdést alább, és más felhasználók válaszolnak Önnek
Útmutatók Minden egyben Oce

5 Október 2024
20 Augusztus 2024
20 Augusztus 2024
19 Augusztus 2024
19 Augusztus 2024
19 Augusztus 2024
17 Augusztus 2024
17 Augusztus 2024
17 Augusztus 2024
16 Augusztus 2024
Útmutatók Minden egyben
- Minden egyben Canon
- Minden egyben Lenovo
- Minden egyben HP
- Minden egyben Dell
- Minden egyben Xerox
- Minden egyben Kyocera
- Minden egyben Ricoh
- Minden egyben Epson
- Minden egyben MSI
- Minden egyben Konica Minolta
Legújabb útmutatók Minden egyben

16 Január 2025

16 Október 2024
16 Október 2024
16 Október 2024
16 Október 2024
16 Október 2024
16 Október 2024

22 Augusztus 2024

21 Augusztus 2024
21 Augusztus 2024