Használati útmutató Antec NSK 1380
Antec
Számítógép behuzás
NSK 1380
Olvassa el alább 📖 a magyar nyelvű használati útmutatót Antec NSK 1380 (6 oldal) a Számítógép behuzás kategóriában. Ezt az útmutatót 4 ember találta hasznosnak és 2 felhasználó értékelte átlagosan 4.5 csillagra
Oldal 1/6
New Solution Series
NSK 1380
User’s Manual
Manuel de l’utilisateur
Anwenderhandbuch
Manuale per l’operatore
Manual del usuario
পᡅ䂀ᯢ

1
At Antec, we continually refine and improve our products to ensure the highest
quality. As such, your new case may differ slightly from the description in this
manual. This isn’t a problem; it’s simply an improvement. As of the date of publication,
all features, descriptions, and illustrations in this manual are correct.
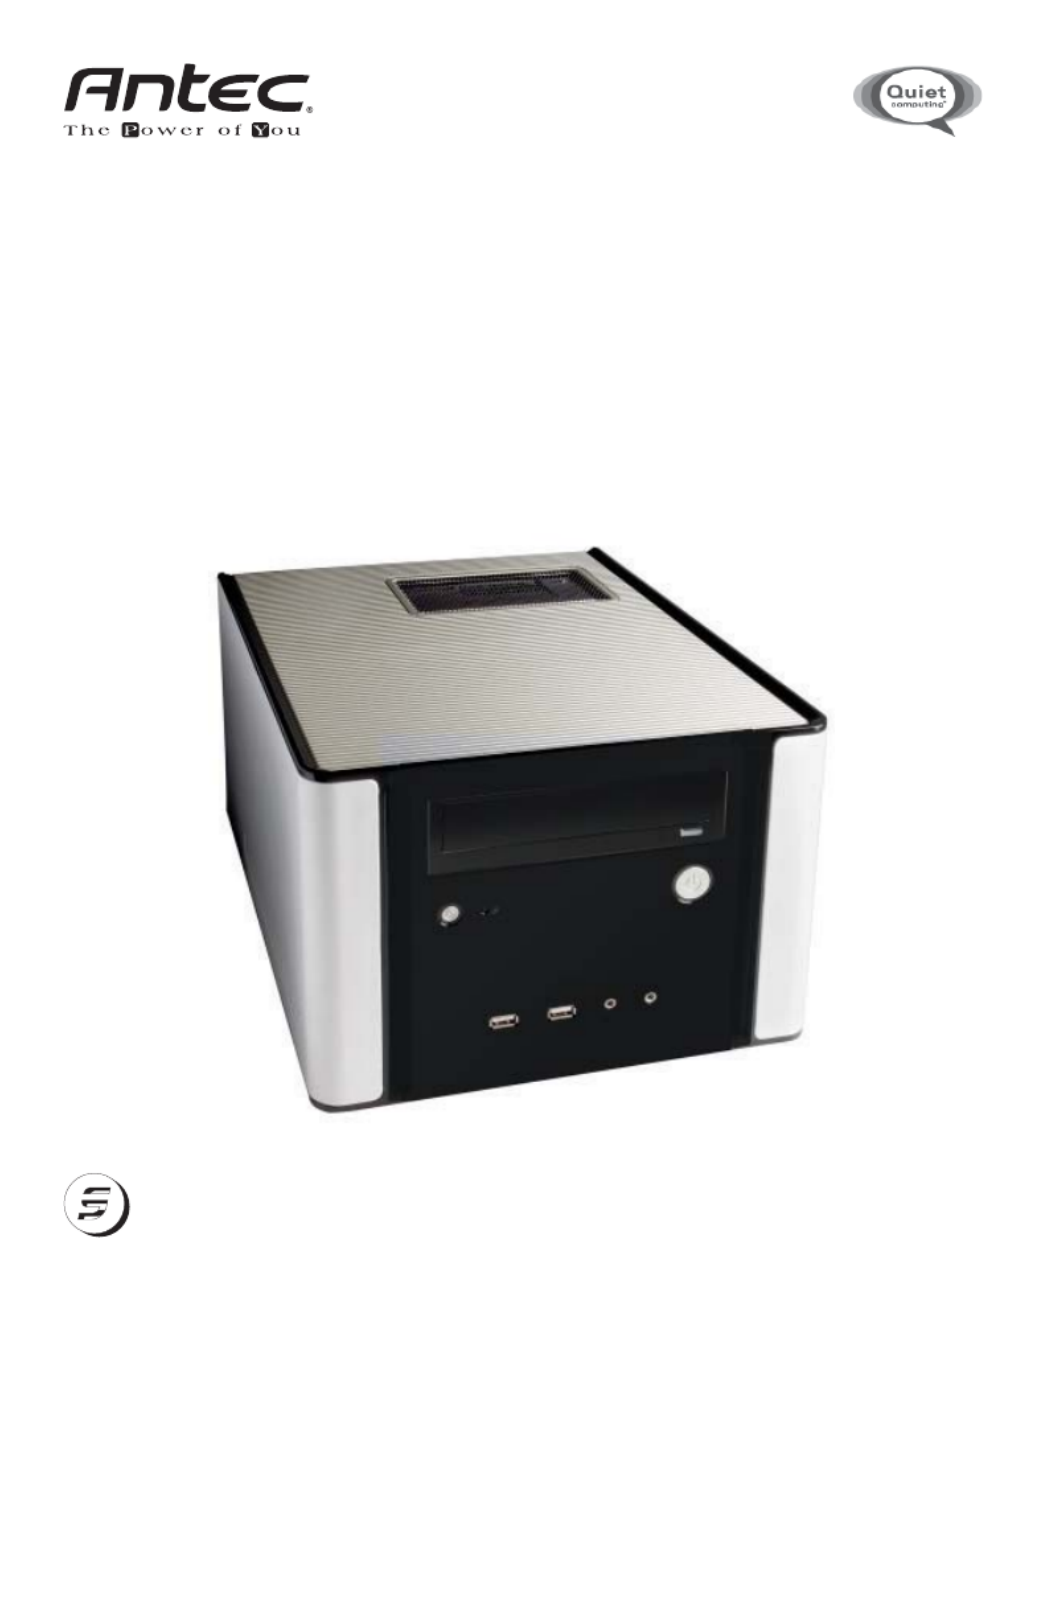
New Solution Series User’s Manual
NSK 1380
Micro ATX Cube Case
The Power Supply
The NSK 1380 comes with a 350-Watt power supply (PSU) that features universal
input, active PFC, and is compatible with the ATX12V version 2.01 specifications.
This power supply features a quiet 120mm low speed fan that exhausts heat from
the case. This PSU has achieved 80 PLUS® Certification, the latest independent
standard in power supply efficiency. It reduces power consumption by up to 25%,
saving you money on your electricity bill. In addition it has a variety of industrial-grade
protective circuitry: OPP (over power protection), OVP (over voltage protection),
UVP (under voltage protection), and SCP (short circuit protection).
Setting Up
Although care has been taken to prevent sharp edges in your Antec case, we
strongly recommend taking the appropriate time and care when working with it.
Avoid hurried or careless motions. Please take reasonable precautions.
1. Take the case out of the box. Remove the packaging and plastic bag.
2. Put the case on a flat surface.
3. Place the case upright. The power supply fan in the back should be facing you.
4. Remove the screw from the rear of the case and remove the top panel by
sliding it towards the rear of the case. Set the panel aside in a safe place.
5. There is a locking tab at the rear of each side panel. Squeeze and hold the
tab while pushing the panel towards the front of the case to release the side
panel. Take off both panels.
6. Inside the case, you’ll see the power supply, some wiring with marked connectors
(USB, PWR etc.), an installed I/O panel and a power cord. You’ll also find a
bag of hardware (screws, clip-on standoff, USB extension adapter, etc.).
Installing the Motherboard
This manual is not designed to cover CPU, RAM, or expansion card installation.
Please consult the motherboard manual for specific mounting instructions and
troubleshooting.
1. Lay the case down, with the open side facing up. The drive cages and power
supply should be visible.
2. Make sure you have the appropriate I/O panel for the motherboard. If the
panel provided is not suitable for the motherboard, please contact the
motherboard manufacturer for the correct I/O panel.
Disclaimer
This manual is intended only as a guide for Antec’s Computer Enclosures. For more
comprehensive instructions on installing the motherboard and peripherals, please
refer to the user’s manuals that come with those components.

2
3. This case comes with three brass standoffs and three clip-on standoffs
preinstalled for easy installation. Line up the holes on your motherboard with
the standoffs, to install the motherboard slide the board towards the rear of
the case until the hook on each of the clip-on standoffs “clipped” the holes on
the motherboard.
Note: Not all motherboards will match with all of the provided screw holes,
and this is not necessary for proper functionality.
4. Remove the motherboard by lifting it up.
5. Remove any of the pre-installed standoffs that aren’t needed. Insert any extra
clip-on standoffs in your tool bag onto the holes should your motherboard
require it.
6. Place the motherboard back on the standoffs.
7. Fasten the motherboard to the rest of the standoffs with the provided Philips-head
screws. The motherboard is now installed.
Connecting the Power and LED
The power supply conforms to the ATX12V Version 2.01 standard. If the motherboard
has a 20-pin power receptacle, detach the 4-pin attachment on the 24-pin power
connector, see pictures 1 and 2. Before you connect the power supply to any of
the devices, please consult the appropriate user manuals for the motherboard and
other peripherals.
1. Connect the 24-pin Main Power Connector and
the 4-pin connector to the motherboard
as needed. If the motherboard uses a 20-pin
connector, detach the 4-pin attachment on
the 24-pin power connector (see pictures 1
and 2).
Note: the detachable 4-pin section cannot
be used in place of a 4-pin+12V connector.
2. Power Switch (labeled POWER SW) connects
to the PWR connector on the motherboard.
Polarity (positive and negative) does not matter for switches.
3. Connect the Reset switch (labeled RESET SW) to the motherboard at the
RST connector.
Connecting the USB Ports
You will find a single 10-pin connector on a cable attached to the front USB ports.
This Intel standard connector is keyed so that it can’t be accidentally reversed as
long as it is connected to a proper Intel standard motherboard header. Connect the
10-pin connector to the motherboard headers so that the blocked pin fits over the
missing header pin.
Picture 1 Picture 2
For 24-pin
motherboards
For 20-pin
motherboards
Termékspecifikációk
| Márka: | Antec |
| Kategória: | Számítógép behuzás |
| Modell: | NSK 1380 |
Szüksége van segítségre?
Ha segítségre van szüksége Antec NSK 1380, tegyen fel kérdést alább, és más felhasználók válaszolnak Önnek
Útmutatók Számítógép behuzás Antec

27 December 2024
24 Augusztus 2024
24 Augusztus 2024
24 Augusztus 2024
24 Augusztus 2024
24 Augusztus 2024
24 Augusztus 2024
24 Augusztus 2024
24 Augusztus 2024
24 Augusztus 2024
Útmutatók Számítógép behuzás
- Számítógép behuzás Sharkoon
- Számítógép behuzás DeepCool
- Számítógép behuzás StarTech.com
- Számítógép behuzás Dell
- Számítógép behuzás Gigabyte
- Számítógép behuzás Phanteks
- Számítógép behuzás Asus
- Számítógép behuzás Supermicro
- Számítógép behuzás Genesis
- Számítógép behuzás Joy-It
- Számítógép behuzás MSI
- Számítógép behuzás Akasa
- Számítógép behuzás ModeCom
- Számítógép behuzás ADATA
- Számítógép behuzás Cooler Master
- Számítógép behuzás NZXT
- Számítógép behuzás Razer
- Számítógép behuzás Be Quiet!
- Számítógép behuzás 3M
- Számítógép behuzás Corsair
- Számítógép behuzás IStarUSA
- Számítógép behuzás Thermaltake
- Számítógép behuzás Cougar
- Számítógép behuzás HYTE
- Számítógép behuzás Zotac
- Számítógép behuzás Savio
- Számítógép behuzás Enermax
- Számítógép behuzás Logic
- Számítógép behuzás Lian Li
- Számítógép behuzás Icy Box
- Számítógép behuzás SilverStone
- Számítógép behuzás Techly
- Számítógép behuzás Intel
- Számítógép behuzás XPG
- Számítógép behuzás Monoprice
- Számítógép behuzás Zalman
- Számítógép behuzás Advantech
- Számítógép behuzás Evnbetter
- Számítógép behuzás Xigmatek
- Számítógép behuzás Akyga
- Számítógép behuzás Rosewill
- Számítógép behuzás AeroCool
- Számítógép behuzás Krux
- Számítógép behuzás 3R System
- Számítógép behuzás SilentiumPC
- Számítógép behuzás Fractal Design
- Számítógép behuzás Chenbro Micom
- Számítógép behuzás AZZA
- Számítógép behuzás Middle Atlantic
- Számítógép behuzás FSP
- Számítógép behuzás CoolerMaster
- Számítógép behuzás Montech
- Számítógép behuzás Jonsbo
- Számítógép behuzás Kolink
- Számítógép behuzás Leba
- Számítógép behuzás Hoffman
Legújabb útmutatók Számítógép behuzás
9 Április 2025
7 Április 2025
5 Április 2025

3 Április 2025
2 Április 2025
1 Április 2025
1 Április 2025
30 Március 2025
30 Március 2025

29 Március 2025